innovation
V2500: Sophisticated quality inspections
LPT disk inspections for one of the best-selling engines for short- and medium-haul aircraft
01.2019 | author: Thorsten Rienth | 3 mins reading time
author:
Thorsten Rienth
writes as a freelance journalist for AEROREPORT. In addition to the aerospace industry, his technical writing focuses on rail traffic and the transportation industry.
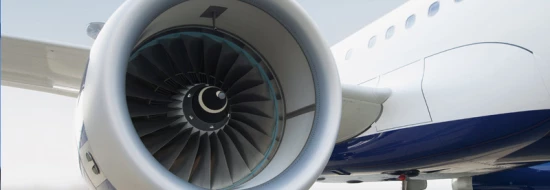
To date, more V2500 engines have been built than almost any other engine for short- and medium-haul aircraft in aviation history. The V2500 powers commercial aircraft including the Airbus A319, A320 and A321 as well as the MD-90. It recently acquired a military application, too, powering the Embraer KC-390 transporter. The engine is manufactured under the umbrella of International Aero Engines, a consortium comprising MTU Aero Engines, Pratt & Whitney and Japanese Aero Engines Corporation.
MTU has a program share of 16 percent, of which the turbine disks for the low-pressure turbine are a part. To ensure that the turbine disks manufactured by MTU in Munich are of sufficient quality to be delivered to the customer, they undergo elaborate quality inspections that are planned to the last detail. The following is the detailed plan and defined inspection process for low-pressure turbine disks:
1. Test planning
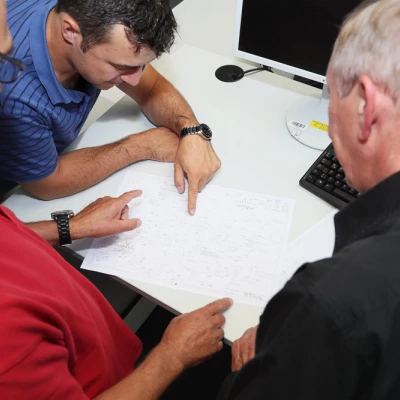
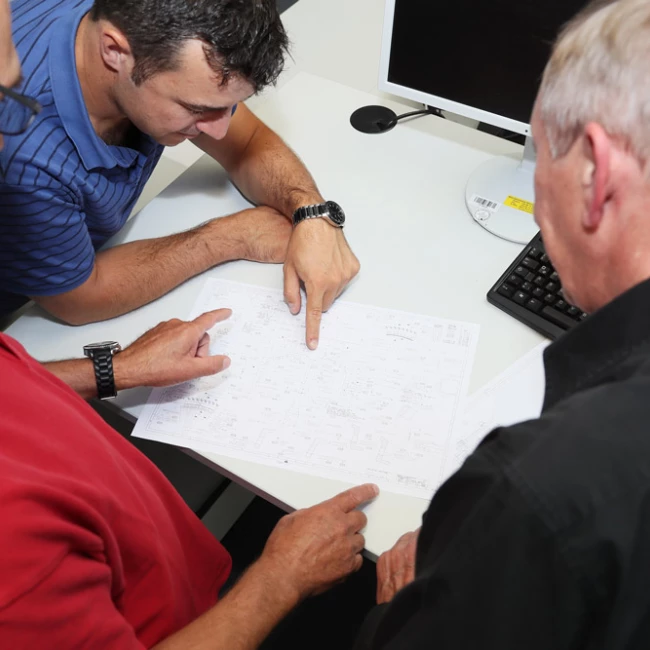
Even if every V2500-NDT disk undergoes the same testing process, some planning is necessary. Before the testing process begins, a plan is drawn up to specify which tests will be conducted at what point in time and where. Should certain steps change—for instance, because of new regulations—these changes are incorporated into the testing process.
2. Programming
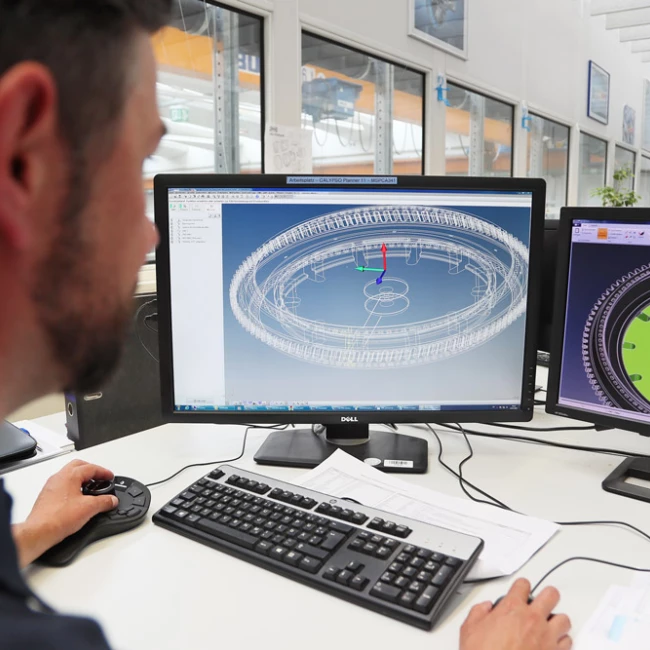
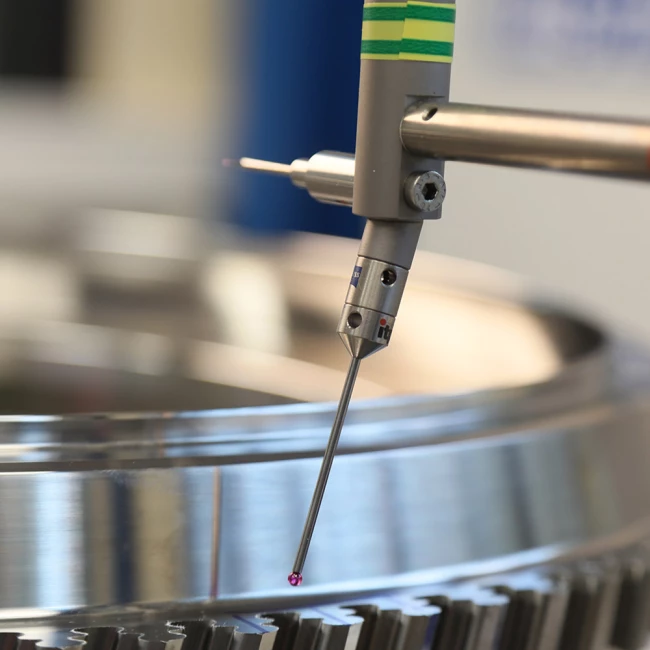
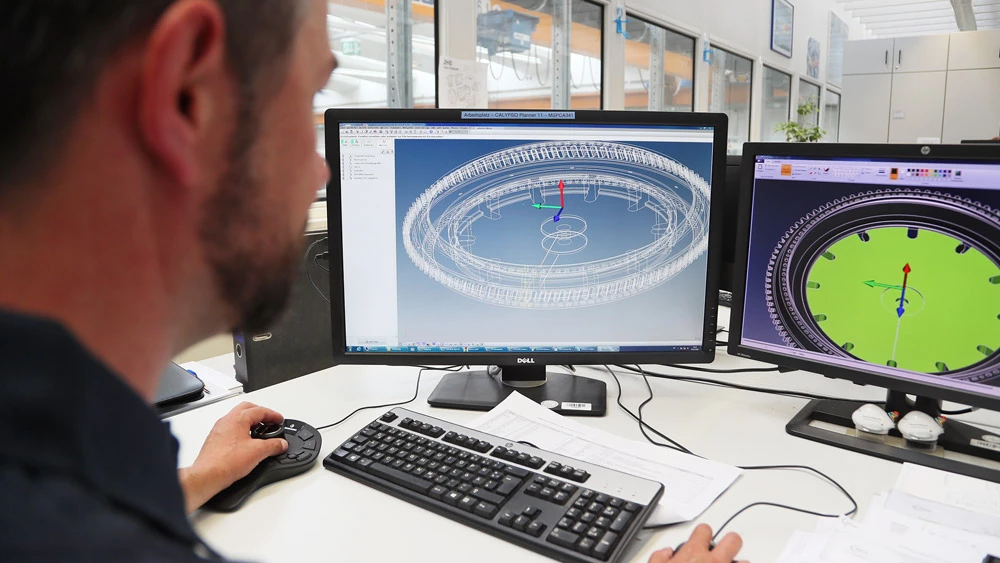
Prior to geometric testing, the measuring machine has to be programmed. The appropriate test program for the coordinate measuring machine can then be called up and usually runs completely automatically.
3. Broaching test
In the next manufacturing step, the blades are joined to the disk by means of grooves, the outlines of which look like little Christmas trees. Of course, the only way to achieve a perfect join is when the broaching grooves have precisely the correct measurements.
4. Corrosion test
Corrosion testing is a non-destructive test procedure. Such procedures are particularly important in aviation, as they examine a part’s inner structure and help ensure its service life. Spot checks would be insufficient.
5. Metallography
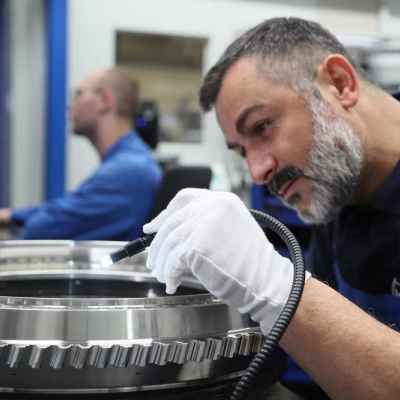
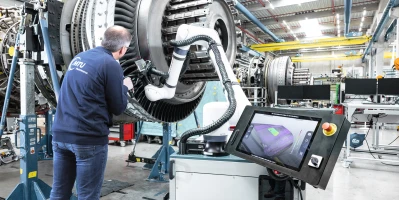
Sometimes, even the most sophisticated technology is still no match for the human eye; that’s why in metallography, workers make use of a classic tool: the microscope.
6. Crack test
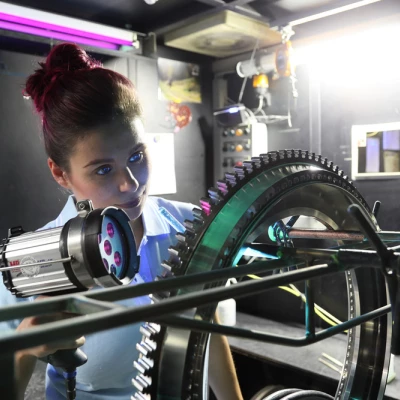
Crack testing aims to detect even the tiniest of fissures in the component. One method involves applying liquids that are fluorescent under certain wavelengths of light. Such liquids would collect in a crack and make them visible.
7. Final test
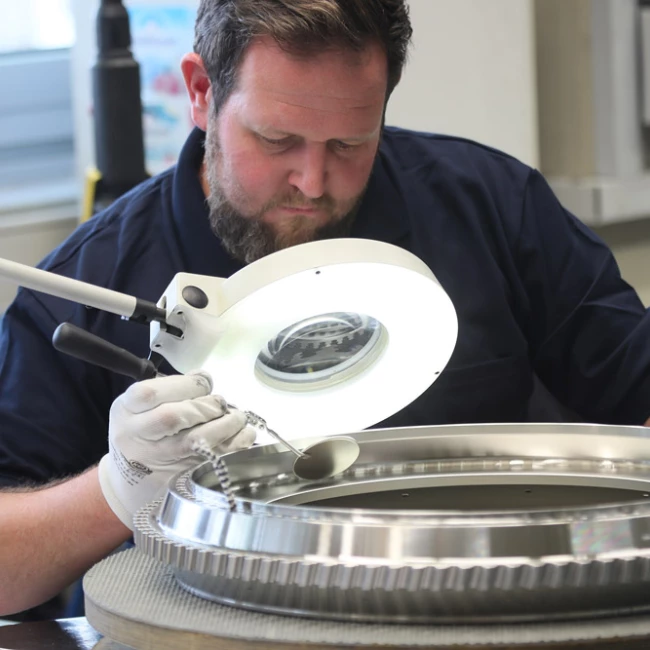
As the name suggests, final testing refers to the big finale of the individual testing steps. A major part of it consists of a visual inspection. Following a predetermined workflow, the worker inspects various component characteristics under a magnifying glass. The final stage of testing also includes making an impression of the component so that edges, radii and chamfers—the latter is the technical term for a beveled surface adjoining component edges—can once again be reliably inspected.
8. Acceptance test
Anytime flying—and extremely safety-relevant—parts are being processed, a certain amount of documentation
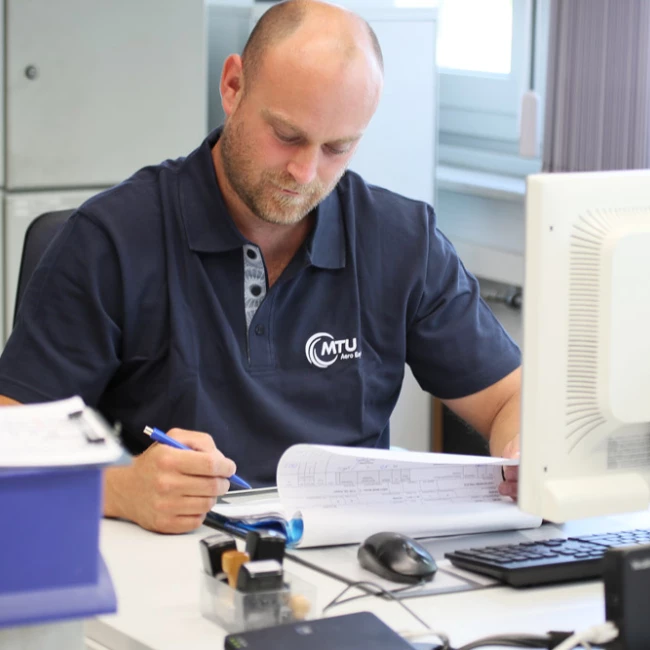
is required. In the acceptance testing phase, employees check to make sure that every work step has been properly documented.


